
🍯🔥 Sticky Brown Sugar Garlic Chicken: A Glazed, JuicyWeeknight Hero That’s Ready in 30 Minutes!
1. Introduction
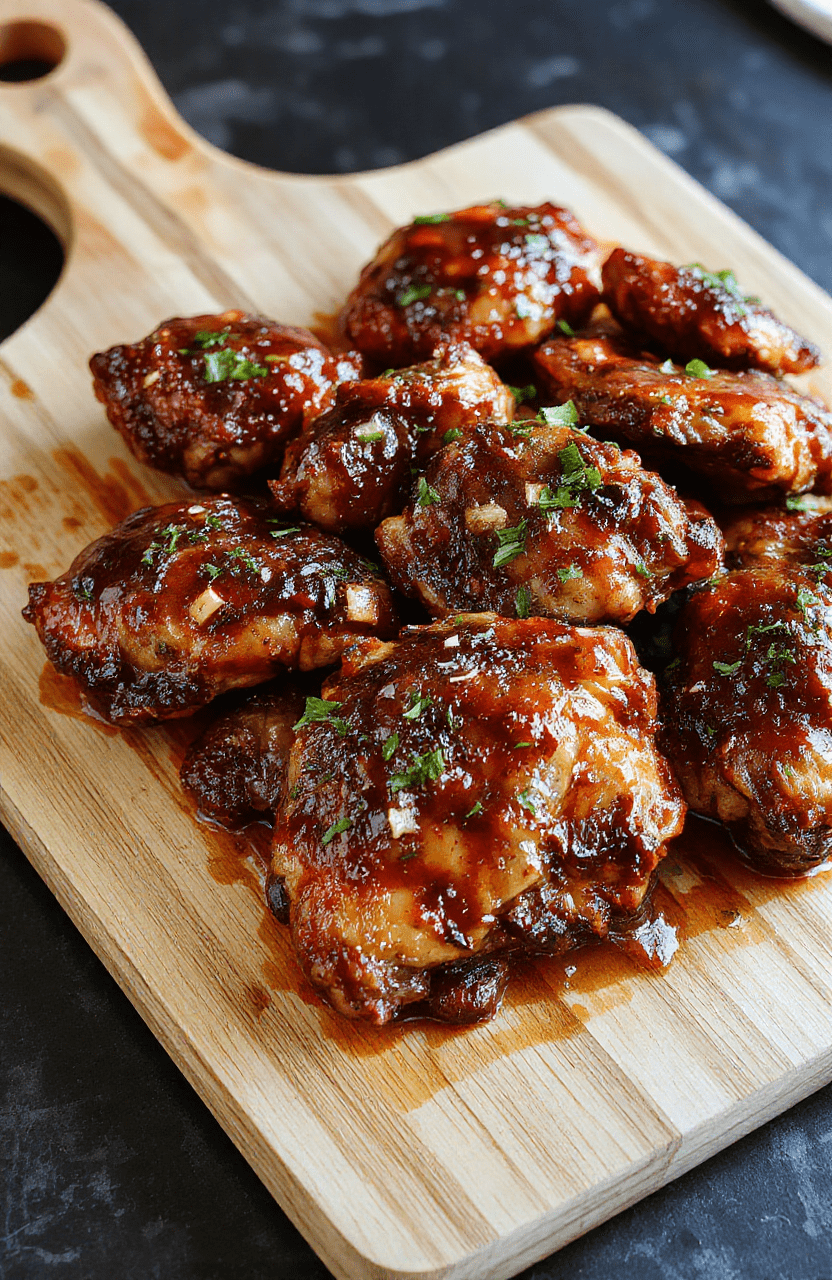
Imagine pulling a glistening, caramelized sheet pan from the oven: sticky brown sugar garlic chicken glistening with a rich, velvety glaze—sweet, savory, and deeply aromatic from roasted garlic and a hint of ginger. This isn’t just dinner; it’s dinner with *personality*. Juicy chicken thighs cradle in a luscious, glossy coating that clings just right—no soggy skin, no dry patches. Whether you’re rushing between work and soccer practice or hosting a low-key Friday unwind, this easy one-pan chicken dinner delivers restaurant-grade flavor with minimal cleanup. Bonus? The same pan that roasts the chicken becomes the sauce pan. That’s efficiency married to excellence.
2. Why You’ll Love This Recipe
- Ready in 30 minutes or less—perfect for busy weeknights without sacrificing depth of flavor.
- One-pan wonders: Chicken browns, glazes, and caramelizes all in the same dish.
- Simple pantry ingredients: No fancy sauces—just brown sugar, soy sauce, garlic, and a splash of acid to balance.
- Meal-prep friendly: Stays delicious for 3–4 days and reheats beautifully.
- Kid- and date-night approved: Sweet enough for little ones, complex enough for sophisticated palates.
3. Ingredient Notes
Here’s where I share what not every recipe tells you: the quality of your garlic and brown sugar makes or breaks the glaze.
- Dark brown sugar instead of light? Yes, please. The deeper molasses content adds richness and helps the glaze caramelize into a sticky-sweet finish—think buttery toffee meets soy.
- Fresh garlic, minced fine or pressed—never powdered. Roasting whole cloves (which I’ll show you how to do) gives depth; minced garlic adds punch. Don’t skip both. I do both.
- Low-sodium soy sauce lets the sweetness shine. Regular soy sauce can easily overpower with salt. Or try tamari for gluten-free.
- Fresh ginger, grated (optional but recommended): adds brightness and cuts through richness. No more “bland glaze” complaints from your taste buds.
- Bone-in, skin-on thighs (not breasts): thighs stay juicy through roasting, and the skin crisps beautifully. Breasts risk drying out unless monitored *perfectly*—thighs are forgiving and flavorful.
For a touch of acidity to round things out, I often add a splash of rice vinegar or lime juice at the end—but only after tasting. Balance is everything.
4. Kitchen Tools You Need
You don’t need a lab, just the right helpers. I’ve tested dozens of pans and tools to find what *actually* enhances this recipe:
- T-fal 14-Piece Hard Anodized Nonstick Cookware Set: Why? Because a high-quality nonstick rimmed baking sheet ensures even heating, prevents hot spots, and makes cleanup a breeze—no more scrubbing charred sugary sauce from a rusty mesh rack. (Bonus: the nonstick finish is metal utensil-safe—yes, really.)
- Ninja Air Fryer Pro Crisp & Roast 4-in-1: Prefer faster, crispier skin and less oven preheat time? Air fry at 400°F for 12 minutes after glazing—watch it getthat gorgeous caramelized finish in half the time.
- Deluxe 33-Piece Silicone Utensil Set: Heat-resistant, non-scratch tools let you flip chicken and spoon glaze without scratching your cookware—especially important with nonstick surfaces.
- JoyJolt Airtight Glass Food Storage Set: Perfect for storing leftovers in the fridge or freezing extra portions for future “I’m too tired to cook” nights.
And if you love making sweet condiments and glazes, Cuisinart 2-Quart Stainless Steel Ice Cream Maker might seem unrelated—but seriously—home-cultured caramel sauces and glazes start with precise chilling and whisking tools. You’ll know when you’re ready. 😉
5. How to Make Sticky Brown Sugar Garlic Chicken
Phase 1: Prep & Dry-Brine
Start with 4 bone-in, skin-on chicken thighs. Pat them *extra dry* with paper towels—this is non-negotiable for crispy skin. Rub them with a pinch of salt and pepper (and optionally, a whisper of smoked paprika for color). Let sit 10 minutes while you prep the glaze.
Phase 2: Roast Whole Garlic Cloves (Yes—Whole!)
In the same pan, toss 6–8 peeled garlic cloves with 1 tsp olive oil, a pinch of salt, and fresh thyme sprigs. Roast at 400°F (200°C) for 15 minutes—just long enough for them to sweeten and soften. They’ll fold into the glaze later.
Phase 3: Make the Glaze
While garlic roasts, whisk together in a small bowl:
- ¼ cup dark brown sugar
- 3 tbsp low-sodium soy sauce
- 1 tbsp rice vinegar or lime juice
- 1 tsp grated fresh ginger
- 1 minced fresh jalapeño (seeded—optional, for heat)
- 2 tbsp water (to prevent scorching)
Phase 4: Finish Roasting
After 15 minutes, remove garlic. Increase oven to 425°F (220°C). Nestle chicken thighs in the pan, skin-side up. Pour half the glaze over the chicken. Roast for 20–25 minutes until internal temp hits 165°F (74°C).
Phase 5: Glaze & Caramelize
Remove chicken. Simmer remaining glaze in the pan over medium heat for 3–4 minutes, stirring constantly, until thickened like warm honey. Brush or spoon generously over chicken. Return to oven for *just* 2 more minutes—watch like a hawk—so it caramelizes but doesn’t burn. The skin should be crackling and the glaze glossy, almost sticky-ruby.
6. Expert Tips for Success
- Dry skin = crispy skin. Water is the enemy here. Pat chicken * twice*.
- Sugar burns fast. Always reduce glaze separately, not in the oven—otherwise it turns bitter before the chicken is done.
- Rack or no rack? I use a wire rack *on* a sheet pan for maximum air flow and even browning. Skip the rack only if you love that caramelized “pan sauce” base.
- Resting matters. Tent chicken 5 minutes after glazing—it lets juices redistribute and the glaze set.
- Double the batch. Extra glaze freezes well. Use it on salmon, tofu, or roasted vegetables next week.
7. Variations & Substitutions
- Vegan: Swap chicken for extra-firm tofu or jackfruit—marinate in half the glaze for 30 minutes, then roast at 425°F for 20 minutes, glaze, broil 3 minutes.
- Spicier: Add ½ tsp gochugaru or 1 tsp sriracha to the glaze.
- Sweetener swaps: Use coconut sugar or maple syrup—but reduce liquid by 1 tbsp since they’re more liquid than brown sugar.
- Soy-free: Use coconut aminos (note: slightly sweeter, so adjust sugar downward).
- Instant Pot option: Sear chicken in “Sauté” mode, pressure cook 8 minutes with ¼ cup broth, then reduce glaze separately and broil in oven.
8. Storage & Reheating
Store cooled chicken in an airtight glass container for up to 4 days. Do not store with excess sauce submerged—the skin will soften. Keep extra glaze separate and toss before serving.
To reheat: – Oven: 350°F (175°C) for 12–15 minutes—best for crispiness. – Air Fryer: 375°F for 5 minutes—revives that crispy skin beautifully. – Microwave: Only in a pinch. Cover loosely and use medium power—reheat in 60-second bursts.
Right before serving, flash-broil for 1–2 minutes to re-caramelize the glaze.
9. FAQ
Can I use chicken breasts instead of thighs?
Yes—but they dry out faster. Use boneless, skinless breasts and reduce cook time to 15–18 minutes. Check internal temp at 155°F and let carryover heat finish it. Pair with steamed broccoli to add moisture.
Why did my glaze turn bitter?
Sugar burns easily above 400°F. Always simmer the glaze on the stovetop until thickened—not in the oven—and never leave it unattended. If it darkens beyond amber, start over with fresh glaze.
What can I serve this with?
Simple pairs: fluffy jasmine rice, garlic mashed potatoes, or a crisp tossed salad with lemon vinaigrette. For more ideas, check out my Dump-and-Go Smothered Pork Chops sides section—many work here too!
Does this freeze well?
Absolutely—but freeze chicken and glaze separately. Combine after thawing, then reheat gently to preserve texture. Freezes up to 3 months.
10. Conclusion
Now you have more than a recipe—you have a new weeknight ritual.Juicy, caramelized, garlic-scented, and just that much more satisfying than takeout. Try it tonight, and I promise you’ll hear “Can we have this again soon?” from every table you feed. And if you need more crowd-pleasers like this, browse my Sweet and Spicy Honey Pepper Chicken or Easy Buffalo Chicken Sliders for more game-day glory. Happy cooking—and savor every sticky, garlicky bite. 🍗✨
Print
Sticky Brown Sugar Garlic Chicken
Juicy, sticky, and incredibly flavorful, this sticky brown sugar garlic chicken is the perfect quick weeknight dinner. The glaze caramelize into a rich, glossy coating that clings to tender chicken thighs.
- Total Time: 25 minutes
- Yield: 4 servings
Ingredients
- 4 boneless, skinless chicken thighs
- 2 tbsp brown sugar
- 3 cloves garlic, minced
- 2 tbsp soy sauce
- 1 tbsp honey
- 1 tsp rice vinegar
- ½ tsp ginger, grated
- 1 tbsp neutral oil
- Sesame seeds and sliced green onions, for garnish
- Cooked jasmine rice, for serving
Instructions
- Season chicken thighs with salt and pepper.
- Heat oil in a large skillet over medium-high heat. Sear chicken 5–6 minutes per side until golden and cooked through (165°F internal temp). Remove and set aside.
- In the same pan, add brown sugar, garlic, soy sauce, honey, rice vinegar, and ginger. Simmer 2–3 minutes until slightly thickened.
- Return chicken to pan, coating thoroughly in glaze. Let simmer 2 more minutes for maximum stickiness.
- Serve over rice, garnished with sesame seeds and green onions.
Notes
- For extra tenderness, pound thighs slightly before cooking.
- Can be made ahead—reheat gently in a skillet to restore stickiness.
- For a thinner glaze, add 1 tbsp water or broth.
- Prep Time: 10 minutes
- Cook Time: 15 minutes
- Method: Pan-sear
- Cuisine: Asian-inspired
- Diet: High Protein
Nutrition
- Serving Size: 1 thigh
- Calories: 285 Kcal
- Sugar: 11g
- Sodium: 612mg
- Fat: 12g
- Saturated Fat: 3g
- Unsaturated Fat: 7g
- Trans Fat: 0g
- Carbohydrates: 18g
- Fiber: 0g
- Protein: 24g
- Cholesterol: 75mg