

🌟 Crispy Baked Chicken Legs — Golden, Juicy &Ready in Under 40 Minutes!
1. Introduction
There’s something deeply satisfying about pulling perfectly crispy baked chicken legs out of the oven — skin crackling, edges caramelized to a deep golden brown, and inside? Oh, inside is tender, juicy, and impossibly flavorful. This isn’t just a reliable weeknight dinner; it’s your new back-pocket recipe for impressing guests, meal-prepping, or simply treating yourself to comfort food done right. As a home cook who’s tested dozens of chicken-leg recipes (yes, all of them), I can confidently say: the secret lies in dry-brining, high-heat roasting, and never skipping the final broil. Let’s get those drumsticks singing in the oven!
2. Why You’ll Love This Recipe
- ✅ Ready in under 40 minutes — Minimal prep, maximum flavor.
- ✅ One-pan wonder — Less cleanup, more joy.
- ✅ High-protein & naturally gluten-free — Great for macros and dietary needs.
- ✅ Perfectly crispy skin every time — No soggy mess, just shatter-worthy crunch.
- ✅ Versatile pairing — Serves beautifully with our High-Protein Honey BBQ Chicken Mac & Cheese or Japanese Katsu Bowls for a flavor upgrade.
3. Ingredient Notes
You don’t need fancy ingredients to make amazing chicken — just *smart* ones. Here’s why each item matters:
- Chicken legs (drumsticks or drumettes) — Bone-in, skin-on is essential. The fat and collagen under the skin break down during roasting, creating that luscious juiciness and helping the skin crisp up. Look for organic, air-chilled chickens when possible — they absorb seasoning better and have cleaner flavor.
- Kosher salt — Its larger crystals cling better than table salt and help draw moisture to the surface during dry-brining, which then reabsorbs, tightening the skin for crispness.
- Black pepper — Freshly cracked, not pre-ground. You’ll taste the difference in aroma and heat complexity.
- Garlic powder + onion powder — These deep, savory notes infuse the meat without burning (fresh garlic would blacken at high heat).
- Paprika (smoked or sweet) — Smoked paprika adds a subtle grill-like depth, while sweet paprika contributes vibrant color and gentle warmth.
- Olive oil or avocado oil spray — A light mist after drying helps seasonings cling and encourages browning. (Skip brushing oil directly—it can cause steaming instead of crisping.)
4. Kitchen Tools You Need
To get restaurant-quality results at home, a few key tools make all the difference:
- 👉 Compact 6-in-1 Digital Air Fryer by Amazon Basics — If you love extra-crispy skin *and* faster cook time, finish your chicken in the air fryer (375°F for 5–7 minutes). It’s compact, affordable, and perfect for small kitchens.
- 👉 T-fal 14-Piece Hard Anodized Nonstick Cookware Set — Use one of the pans for roasting if you don’t have a large sheet pan. Its heavy-grade aluminum ensures even heat distribution — no hot spots = consistent browning.
- 👉 Ninja Foodi Smart XL Indoor Grill & Air Fryer Combo — Love that grill-sear flavor? Use the “Air Crisp” function post-oven to blister and crisp in minutes.
- 👉 Ninja Air Fryer Pro Crisp & Roast 4-in-1 — Has a dedicated “Crisp” setting that pushes the skin into overdrive with infrared heat.
- 👉 JoyJolt Airtight Glass Food Storage Set — Perfect for storing leftovers. The glass prevents flavor absorption, and the airtight seals keep chicken moist (but not soggy!) for up to 4 days.
5. How to Make Crispy Baked Chicken Legs
Pro Tip: Do not skip the dry-brine. This single step is what lifts your chicken from “just okay” to “I-need-to-recipe-again” level.
Phase 1: Prep & Dry-Brine (10 minutes + 8–48 hours)
Rinse chicken legs under cold water, then pat them — extremely — dry with paper towels. Moisture is the enemy of crispiness. In a small bowl, mix 1½ tsp kosher salt, ½ tsp black pepper, 1 tsp smoked paprika, 1 tsp garlic powder, and 1 tsp onion powder. Rub the mixture all over the chicken, making sure to coat every nook and cranny, especially under the skin.
Place chicken on a wire rack set over a baking sheet (this lets air circulate all around — crucial!). Refrigerate uncovered for at least 8 hours, or ideally overnight. This dries the skin further and seasons the meat deeply.
Phase 2: Roast (30 minutes)
Preheat oven to 425°F (220°C) with a rack in the center. Place chicken skin-side up on the wire rack. Roast for 20 minutes — no peeking! The first 20 minutes are when the skin starts to set and crisp. After 20 minutes, increase heat to 450°F (230°C) and continue roasting for 10–12 more minutes, or until the internal temperature hits 175°F (79°C) at the thickest part (not touching bone).
Phase 3: The Broil Finish (2–3 minutes)
Here’s the secret:** switch the oven to BROIL (HIGH), place the chicken 6 inches from the heat element, and broil for 2–3 minutes until the skin is deeply golden, blistered, and crackling. Watch closely — it goes from perfect to burnt fast!
Phase 4: Rest & Serve
Transfer chicken to a plate and let rest for 5 minutes. The juices will redistribute, locking in moisture. Serve with a squeeze of fresh lemon juice and a sprinkle of chopped parsley for brightness.
6. Expert Tips for Success
- Use a wire rack. Skipping it = steamed chicken, not roasted. Period.
- Dry-brining is non-negotiable. Wet brines soften the skin. Dry ones = crisper skin and deeper flavor penetration.
- Starting at 425°F then cranking to 450°F gives you a slow set (for structural integrity) and a final blowout of browning.
- Don’t overcrowd the pan. Space chicken legs 1 inch apart. Crowding traps steam =软皮 (ruins crispiness).
- Check temp correctly. Insert thermometer into the thickest part of the thigh (not bone). Chicken legs are done at 175°F (79°C) — not 165°F like breasts. That extra 10 degrees melts collagen into gelatin, making them fall-off-the-bone tender.
7. Variations & Substitutions
- Spicy Kick — Add ½ tsp cayenne or 1 tsp chili powder to the seasoning.
- Lemon-Herb — Mix in 1 tsp dried thyme + zest of 1 lemon with the seasoning. Squeeze fresh lemon over the top after broiling.
- Asian-Inspired — Use 1 tbsp gochujang + 1 tsp soy sauce (or tamari) + 1 tsp ginger powder. Glaze in the last 5 minutes of roasting.
- Keto-Friendly — Already low-carb! Pair with roasted broccoli, cauliflower rice, or our Keto Katsu Bowl (sauce without breadcrumbs).
- Vegan? Use jackfruit or seitan legs — But you’ll miss the real deal! Try this seasoning on plant-based drumsticks for flavor mimicry.
8. Storage & Reheating
Refrigerator: Store in airtight containers for up to 4 days. Keep sauce separate if using.
Freezer: Freeze cooked or raw (un seasoned) for up to 3 months. Thaw overnight in the fridge before seasoning and roasting.
Reheating (to preserve crispiness!):
Never microwave alone — it turns the skin rubbery. Instead:
- 👉 Oven method: 350°F for 10–12 minutes on a rack.
- 👉 Air fryer method: 375°F for 4–5 minutes — skin will revive beautifully.
- 👉 Combo trick: Warm in the oven first (10 min), then 2 min in air fryer to re-crisp.
9. FAQ
Can I use drumsticks instead of whole legs?
Absolutely! Drumsticks are just the lower half — same seasoning ratio, same method. They cook slightly faster (2–4 minutes less), so check temp early.
Why is my chicken skin not crispy?
Most likely: 1) Skin wasn’t dry enough before roasting, 2) No wire rack was used, 3) Oven temp wasn’t hot enough, or 4) No broil finish. Go back to Phase 1 — moisture control is king.
Can I make these in an air fryer?
Yes! Air fry at 380°F for 22–25 minutes, flipping halfway. For extra crunch, broil-spritz (with oil spray) in the last 2 minutes. You’ll lose a bit of deep roasting flavor, but gain speed and convenience.
Do I have to dry-brine overnight?
No — but if you’re short on time, even 30 minutes in the fridge helps. For best results, aim for 12 hours. If you’re in a pinch, pat chicken skin ultra dry, season, and roast at 475°F for 20 minutes + broil 3 minutes.
10. Conclusion
These crispy baked chicken legs prove that simple ingredients, smart technique, and a little patience yield restaurant-worthy results at home. Whether you’re feeding a crowd or meal-prepping for the week, this recipe delivers golden, juicy, flavor-packed chicken — every single time. Plus, with our Honey BBQ Mac & Cheese or a crisp salad, it becomes a full-circle meal that brings joy to the table. Happy cooking — and enjoy every glorious, crackling bite!
Print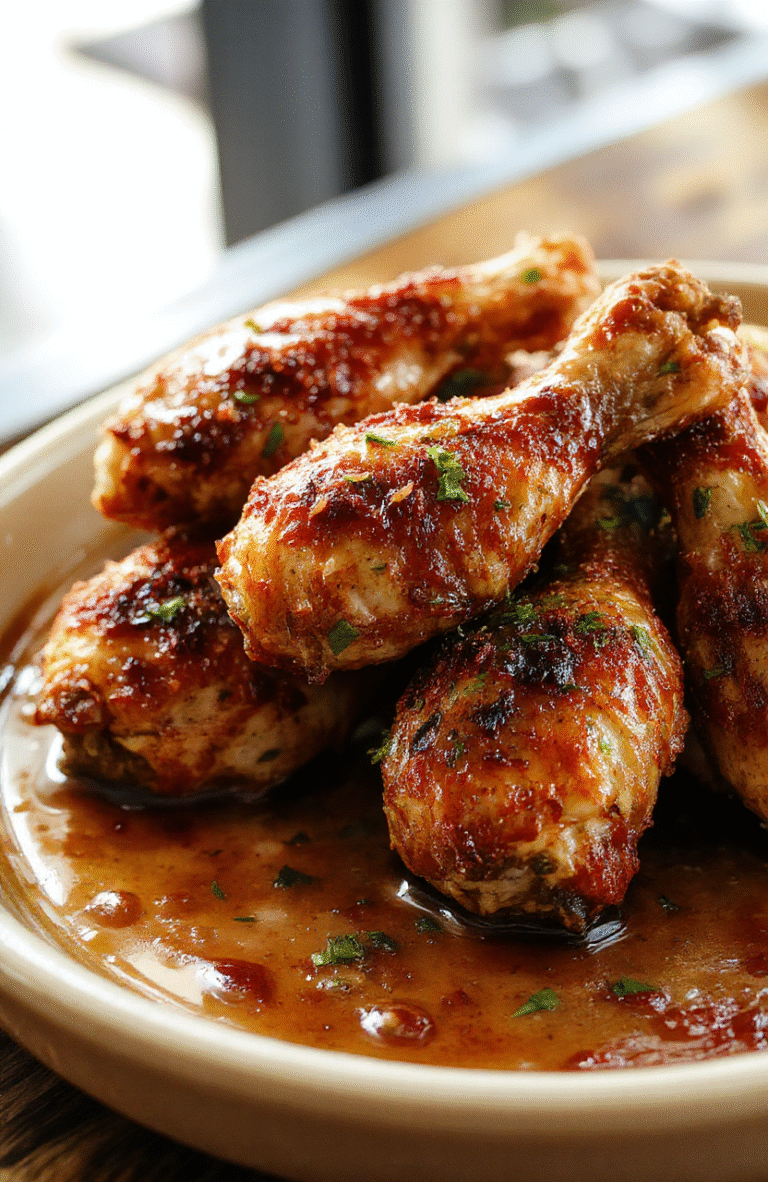
Crispy Baked Chicken Legs
Quick, healthy, and deeply satisfying—these oven-baked chicken legs feature an ultra-crispy skin and juicy meat with minimal effort.
- Total Time: 35 minutes
- Yield: 4 servings
Ingredients
- 4 bone-in, skin-on chicken legs
- 2 tbsp olive oil
- 1 tsp salt
- 1 tsp black pepper
- 1 tsp garlic powder
- 1 tsp paprika
- 1/2 tsp dried thyme
- 1/2 tsp dried rosemary
- 1 lemon, sliced
- Fresh parsley, for garnish
Instructions
- Preheat oven to 425°F (220°C). Line a baking sheet with parchment paper.
- Pat chicken legs dry with paper towels—crisp skin depends on dryness.
- In a small bowl, mix olive oil, salt, pepper, garlic powder, paprika, thyme, and rosemary.
- Rub seasoning mixture evenly over chicken legs, including under the skin.
- Place chicken on baking sheet, skin-side up, and arrange lemon slices around them.
- Bake for 20 minutes. Broil on high for 3–5 minutes for extra crispiness.
- Let rest 5 minutes, then garnish with fresh parsley before serving.
Notes
- For extra crispiness, refrigerate seasoned chicken uncovered for 1 hour before baking.
- Use a meat thermometer—internal temp should reach 165°F (74°C).
- Serve with roasted potatoes,绿叶菜, or a simple salad.
- Prep Time: 10 minutes
- Cook Time: 25 minutes
- Method: Baking
- Cuisine: American
- Diet: High Protein
Nutrition
- Serving Size: 1 chicken leg (with bone)
- Calories: 285 Kcal
- Sugar: 0.8g
- Sodium: 485mg
- Fat: 16g
- Saturated Fat: 4.2g
- Unsaturated Fat: 9.1g
- Trans Fat: 0g
- Carbohydrates: 1.5g
- Fiber: 0.3g
- Protein: 31g
- Cholesterol: 115mg