
© Original Recipe By Serena’s Flavor Lab ©
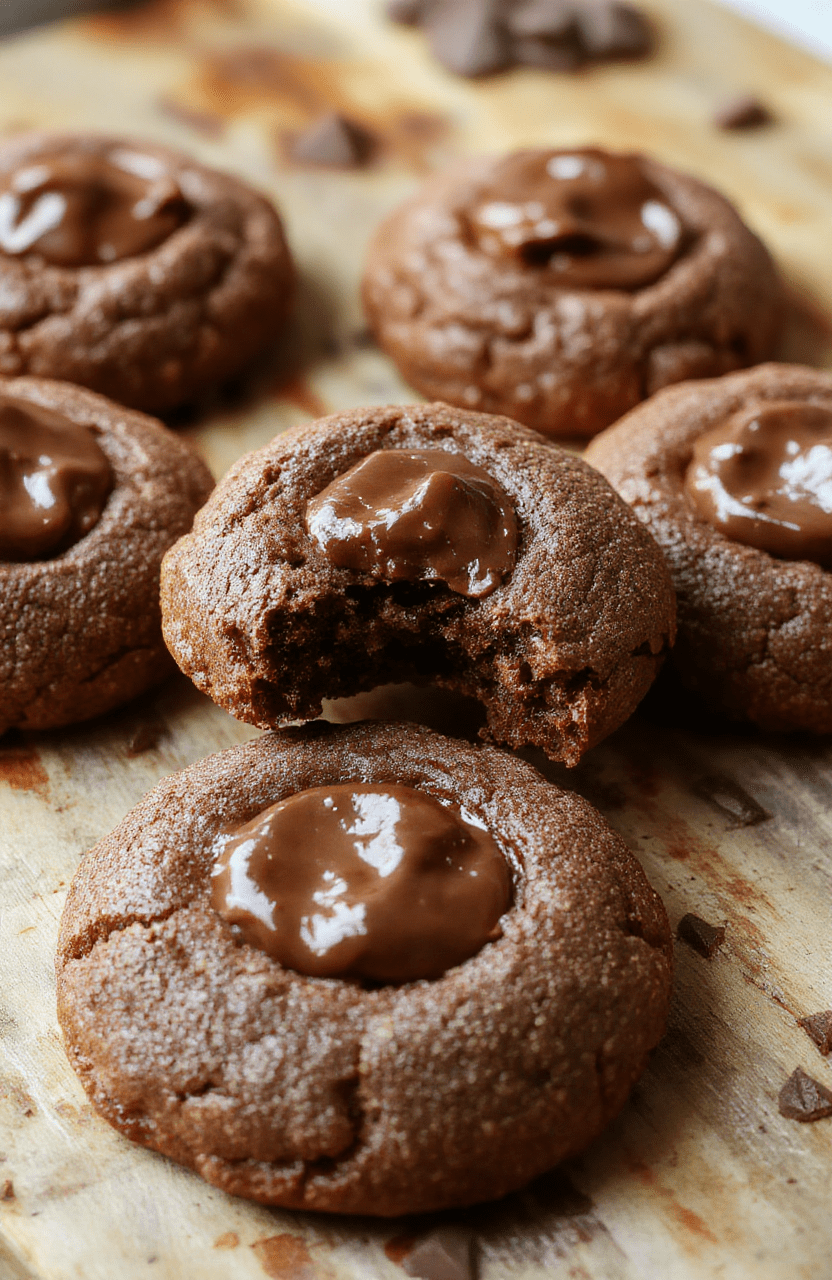
🍪✨ Chewy Chocolate Thumbprint Cookies: The Perfect Fudgy Dessert! 🍫🍪
1. Introduction
If you’re on the hunt for a irresistibly sweet, fudgy treat, these Chewy Chocolate Thumbprint Cookies are just what you need. Bursting with rich chocolate flavor and topped with a gooey chocolate center, they’re a decadent easy dessert that’s sure to impress. Perfectly chewy, with a delicate crunch on the edges, these cookies promise a delightful chocolate experience with every bite.
2. Why You’ll Love This Recipe
- Ready in 30 minutes: No need to wait hours—these cookies are quick and straightforward to make.
- Single-bowl simplicity: Minimal cleanup required, perfect for busy days.
- Versatile: Ideal for gift-giving, parties, or a cozy night in.
- Fudgy and chewy: The perfect balance of chocolatey richness and melt-in-your-mouth texture.
3. Ingredient Notes
Using high-quality ingredients amplifies the decadent chocolate flavor in these Chocolate Cookies. I recommend choosing a good dark or semi-sweet chocolate for the filling to add depth and richness. For the cookie dough, organic unsweetened cocoa powder creates a vibrant chocolate aroma and flavor. When it comes to butter, opting for unsalted butter allows you to control the salt levels, enhancing the overall taste. For an extra indulgent touch, consider using a premium vanilla extract. To enjoy a crunchy yet chewy texture, I suggest chilling the dough before baking—this step helps the cookies maintain their shape and flavor.
4. Kitchen Tools You Need
Having the right tools makes baking these Fudgy Cookies effortless:
- Compact 6-in-1 Digital Air Fryer: This versatile appliance speeds up the baking process and maintains consistent temperature, perfect for crispy outsides and gooey centers.
- T-fal 14-Piece Hard Anodized Nonstick Cookware Set: Ensures your cookie sheets and tools won’t stick, making cleanup a breeze.
- Ninja Foodi Smart XL Indoor Grill & Air Fryer Combo: For toasted, crispy cookie edges, this multi-cooker can replicate an oven environment indoors.
5. How to Make Chewy Chocolate Thumbprint Cookies
Preparation of the Dough
Start by whisking together butter, sugar, and a splash of vanilla until the mixture is creamy and fragrant. Incorporate the cocoa powder and flour, mixing just until combined. The dough should be soft but manageable. Chill the dough in the refrigerator for about 15 minutes—it helps prevent spreading during baking and makes shaping easier.
Shaping and Filling the Cookies
Once chilled, roll small portions of dough into balls and place them on a lined baking sheet. Use your thumb or the back of a small spoon to create a well in the center. Melt your preferred chocolate and spoon it into each thumbprint—a glossy, luscious layer of fudge-like goodness. The smell of melting chocolate combined with baking cookies is pure bliss!
Baking & Finishing Touches
Bake the cookies at 350°F (175°C) until they are just set and the edges are slightly crisp, about 10-12 minutes. The centers should look soft and shiny. Allow them to cool slightly before transferring to a wire rack to set completely. The result? A chewy, aromatic treat with a decadent chocolate core.
6. Expert Tips for Success
- Chill the dough to prevent spreading and enhance flavor.
- Use high-quality chocolate for a richer, more indulgent center.
- Don’t over-bake: The cookies should be slightly soft in the middle for the perfect chewy texture.
- Experiment with fillings: Try nut butters or caramel for fun variations.
7. Variations & Substitutions
If you’re looking to customize these cookies, here are some ideas:
- Vegan option: Swap butter for coconut oil and use dairy-free chocolate.
- Nuts: Add chopped nuts into the dough or sprinkled on top for extra crunch.
- White chocolate: Use white chocolate for a different flavor profile.
- Gluten-free: Substitute all-purpose flour with a gluten-free blend.
8. Storage & Reheating
These Fudgy Cookies store well in an airtight container at room temperature for up to 3 days. For longer storage, keep them in the fridge for up to a week or freeze for up to 3 months. Reheat briefly in an oven or air fryer for a warm, gooey experience — perfect for satisfying chocolate cravings any time.
9. FAQ
Can I make these cookies ahead of time?
Yes! Prepare the dough ahead of time, chill it, and bake fresh cookies whenever needed. You can also freeze the shaped dough, then bake directly from frozen.
What makes these cookies chewy and fudgy?
The combination of melted butter, cocoa powder, and a touch of high-quality chocolate in the center creates the irresistible chewy and fudgy texture.
Can I add toppings like sprinkles or sea salt?
Absolutely! Sprinkle sea salt on top before baking for a sweet-salty contrast, or add sprinkles for a festive touch.
10. Conclusion
Indulge in the decadent, chewy goodness of these Chocolate Thumbprint Cookies. Perfectly fudgy with a luscious chocolate center, they’re the ideal easy dessert to satisfy every sweet tooth. Gather your ingredients, enjoy the process, and delight in this irresistibly rich treat that’s sure to become a new favorite.
Print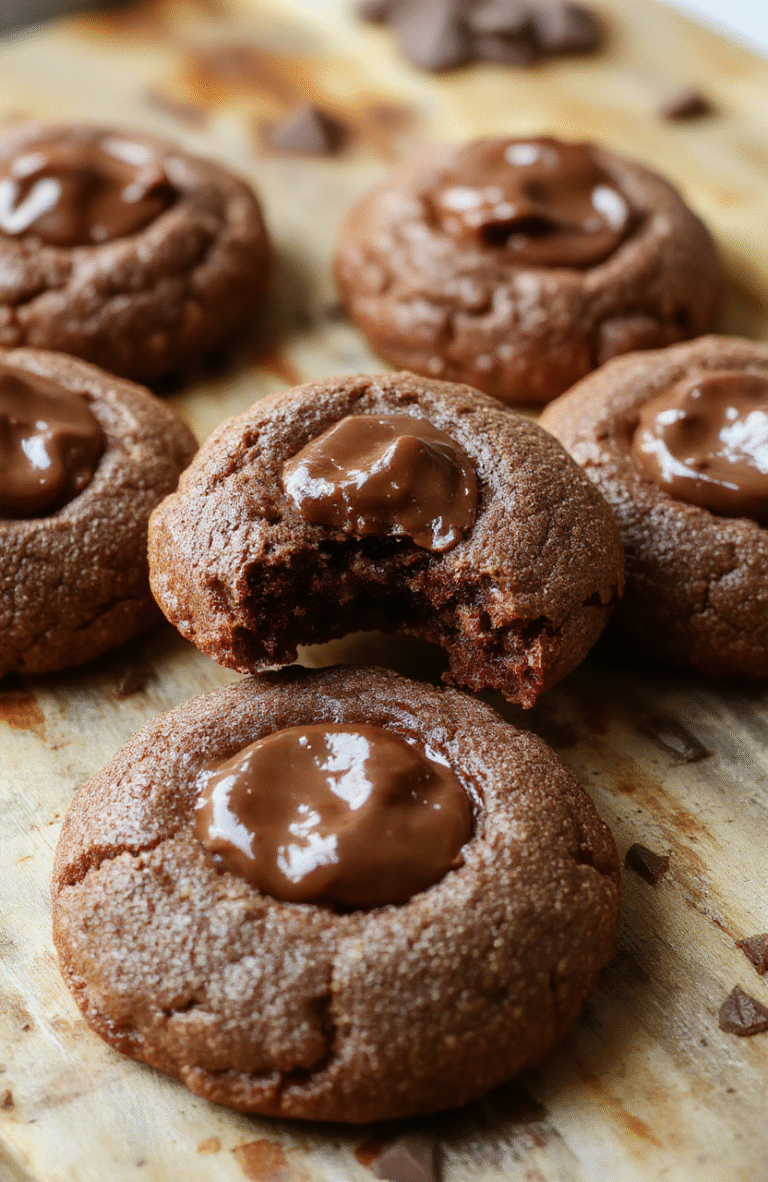
Chewy Chocolate Thumbprint Cookies Sweet Fudgy Dessert
A rich and fudgy chocolate thumbprint cookie with a luscious chocolate filling, perfect for satisfying your sweet tooth. Simple to make and delightful to eat.
- Total Time: 27 minutes
- Yield: 24 cookies
Ingredients
- 1 cup unsalted butter, softened
- 1/2 cup granulated sugar
- 1/2 cup packed brown sugar
- 1 large egg
- 2 teaspoons vanilla extract
- 2 cups all-purpose flour
- 3/4 cup cocoa powder
- 1/2 teaspoon baking soda
- Pinch of salt
- 1 cup chocolate chips, melted
Instructions
- Preheat oven to 350°F (175°C). Line baking sheets with parchment paper.
- In a large bowl, cream together butter, sugars until light and fluffy.
- Add egg and vanilla, mix well.
- Sift in flour, cocoa powder, baking soda, and salt; fold into the wet ingredients until combined.
- Form dough into 1-inch balls and place on prepared baking sheets, spacing apart.
- Flatten each ball slightly and use your thumb to create a well in the center.
- Fill the well with melted chocolate or chocolate chips.
- Bake for 10-12 minutes until edges are set but centers are soft.
- Allow cookies to cool on wire racks before serving.
Notes
- Ensure butter is softened for easy mixing.
- Chocolate can be replaced with chocolate spread for easier filling.
- Cookies are best enjoyed within 3 days or stored in an airtight container.
- Prep Time: 15 minutes
- Cook Time: 12 minutes
- Method: Baking
- Cuisine: American
- Diet: Vegetarian
Nutrition
- Serving Size: 1 cookie
- Calories: 110 Kcal
- Sugar: 8g
- Sodium: 20mg
- Fat: 6g
- Saturated Fat: 3.5g
- Unsaturated Fat: 2.5g
- Trans Fat: 0g
- Carbohydrates: 12g
- Fiber: 1g
- Protein: 1.5g
- Cholesterol: 10mg